

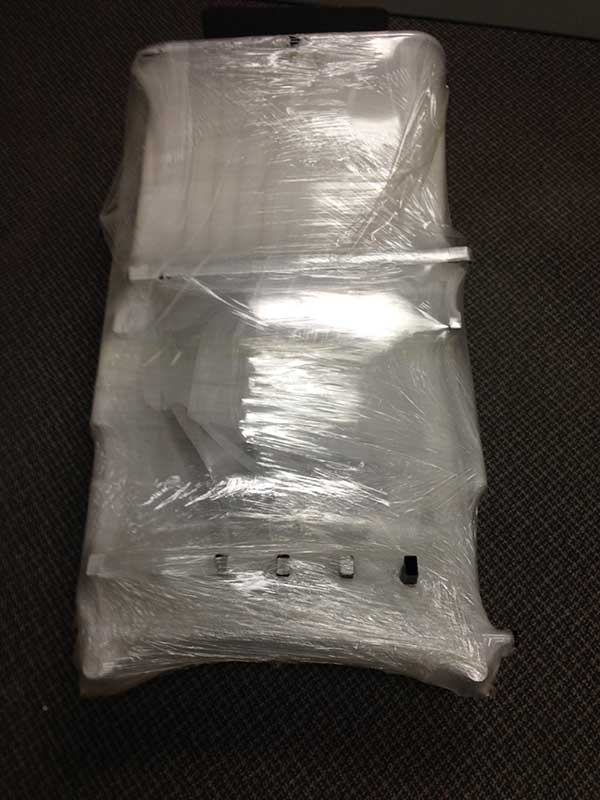
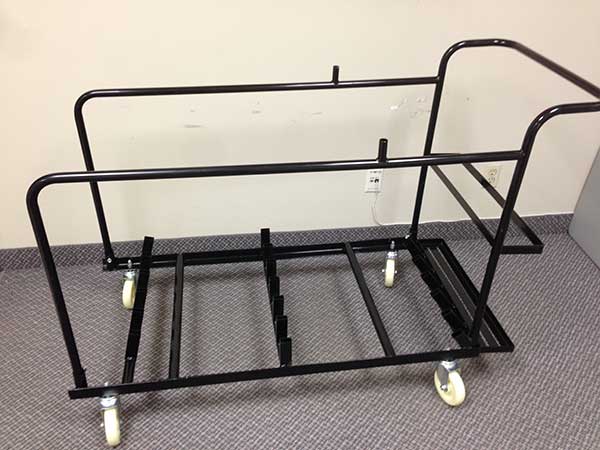
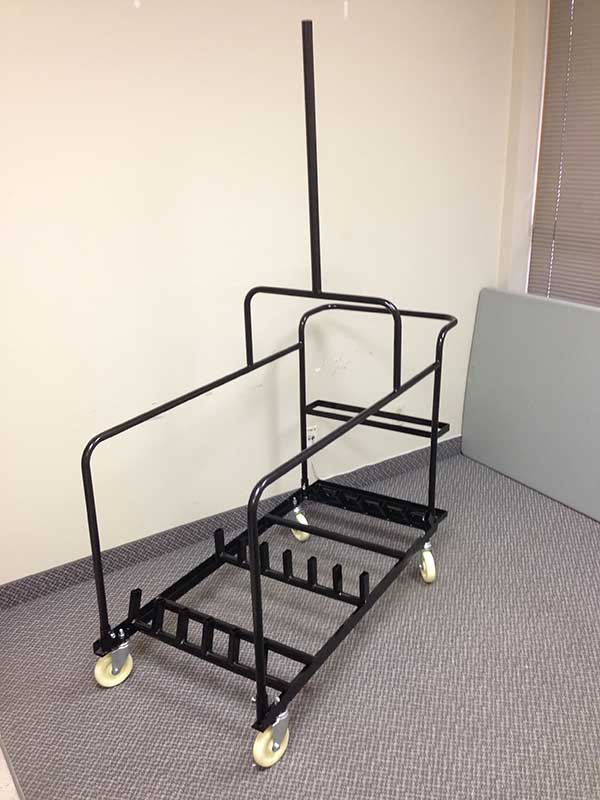
Here’s what the cruiser table cart will look like when you receive it:
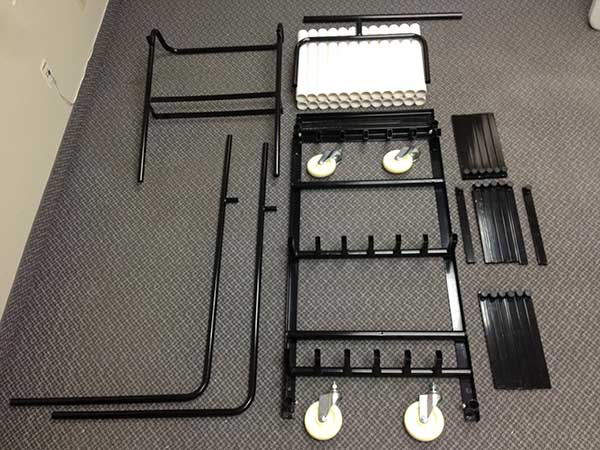
What you should receive:
- (4x) Swiveling Wheels
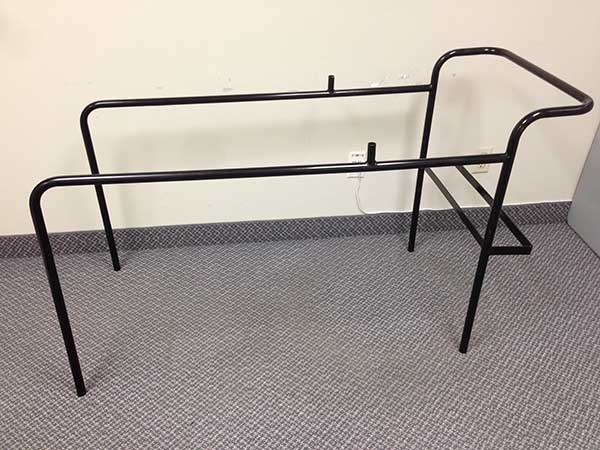
- (1x) Main Handle
- (2x) Side Supports
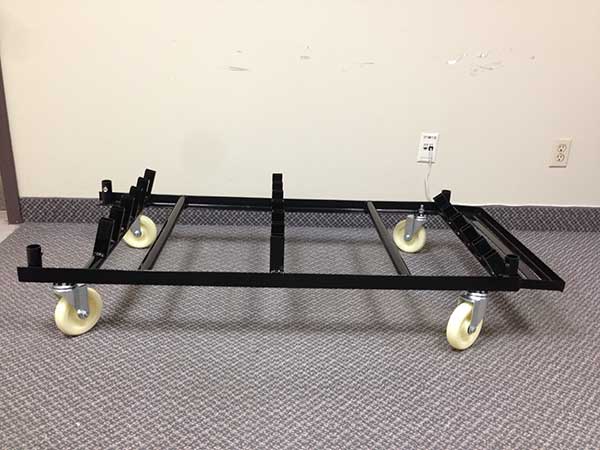
- (1x) Base Cart Unit
- (1x) Cruiser Table Pole Divider
- (1x) Y Support
- (1x) Pole to hold cruiser table bases
- (14x) Single head table arms
- (5x) Double head table arms
- (4x) Nuts
- (4x) Bolts
Recommended Tools (Not Included)
- Wrench
- Deep Socket Wrench
- Adjustable Pliers
- Rubber Mallet
Step 1:
First unpack the cart to ensure you have received all of the parts. The wheels will have their corresponding nuts screwed on to them, and the base unit will have the bolts screwed into it. (If you haven’t received all the parts, please let us know by calling 1-800-827-8953 or contacting sales@nationaleventsupply.com). Once this has been confirmed you can start to assemble the cart.
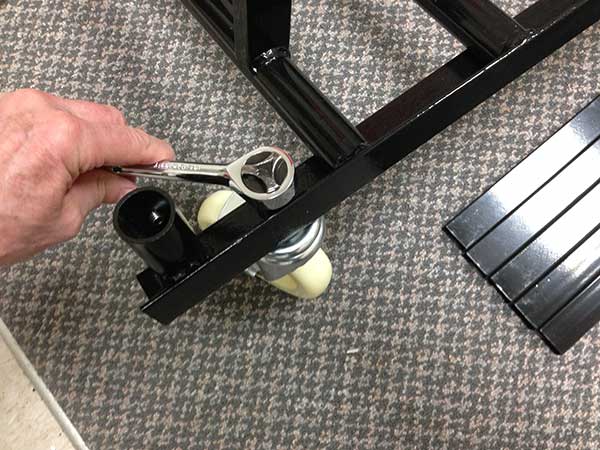
Step 2:
Unscrew the nuts from each wheel. Then, one wheel at a time, stick the wheel bolt into the hole at one of the base cart corners and ratchet or wrench the nut onto the wheel bolt until it is on tight. Repeat for remaining wheels. Note that all of the wheels are identical so you do not need to worry about which wheel goes on the forward or back position of the cart.
Step 3:
Next to the cart base, attach the main handle and side supports together. The side supports attach to the main handle at the horizontal holes located just below the top of the handle.
Step 4:
Lift the main handle and side supports up together and attach them to the base cart. The flat divided platform at the back of the cart should be underneath the handle.
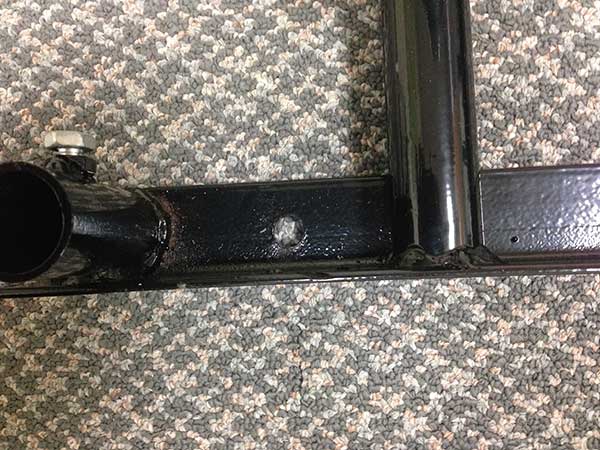
Step 5:
Screw the bolts into the bottom of the side supports and main handle right by the cart base using a wrench.
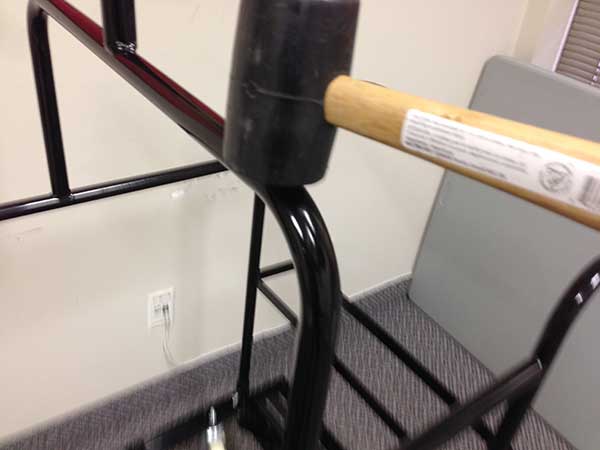
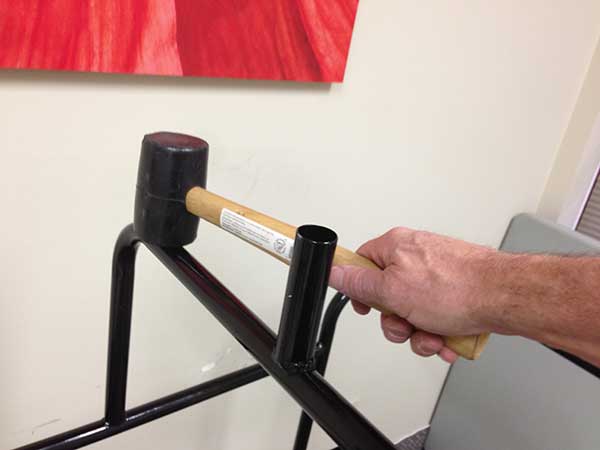
Step 6:
Place the Y support in the vertical holes on the side supports and then use a rubber mallet to ensure the Y support is fully in place.
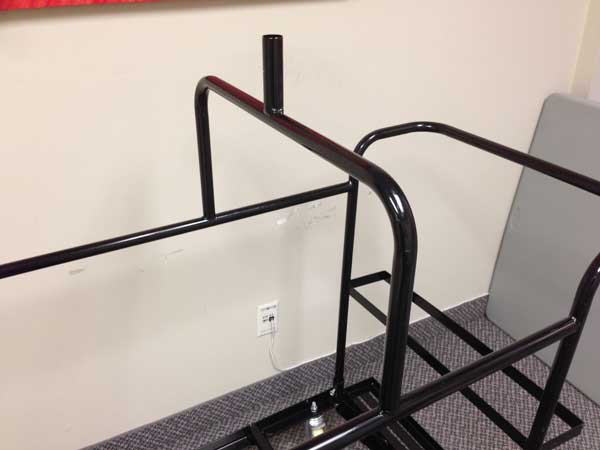
Step 7:
Attach the Pole for Cruiser Table Bases to the Y Support.
Step 8:
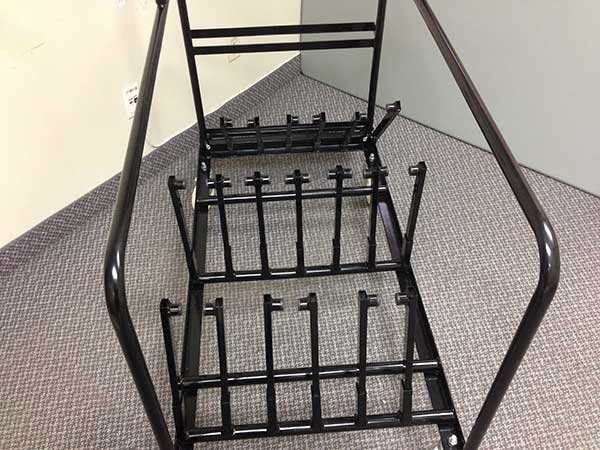
Pick 6 single head table arms up and place them in the slots at the back of the cruiser table cart as follows:
Outside slots on either side: head facing in
Second slot on either side: head facing out
Third slot on either side: head facing in towards each other
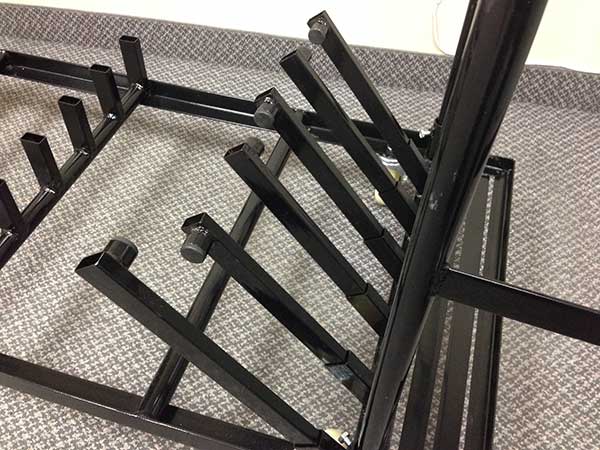
Step 9:
Pick 2 single head table arms and 5 double head table arms up and place them in the slots at the middle of the cruiser table cart as follows:
Outside slots on either side: 1 single head table arm facing in
Middle slots: 1 double head table arm in each slot (5 slots total)
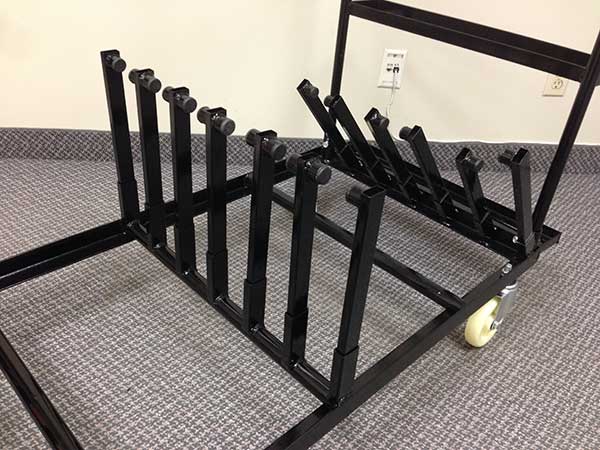
Step 10:
Pick up the remaining 6 single head table arms and place them in the slots at the front of the cruiser table cart as follows:
Outside slots on either side: head facing in
Second slot on either side: head facing out
Third slot on either side: head facing in towards each other
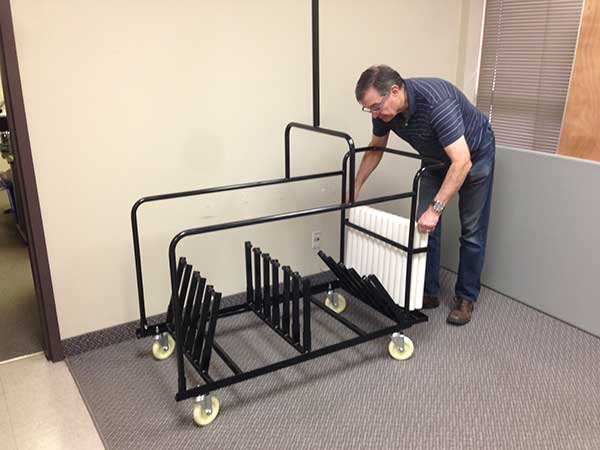
Step 11:
If you choose to use the Cruiser table pole divider place the tubes at the back of the cruiser table on the flat back platform in between the rectangle divider on the main handle.
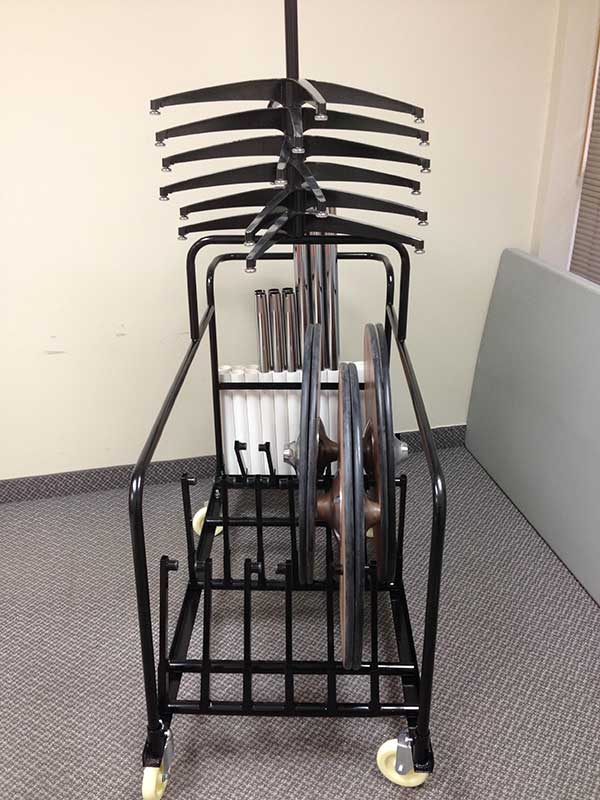
Step 12:
You’re all set up and ready to use your cruiser table cart!

If you’re interested in a quote for our wood cruiser tables or our cruiser table cart: