You will notice before purchasing our NES Wood Cruiser Tables that this product does require some assembly. What does some assembly mean in this case? To find out, this blog post will walk you through the assembly of an NES Wood Cruiser Table (Hint: There is very little assembly required!). These steps can be replicated on any size pole height and any size table top we own.
What you should receive:
- (1x) Wood Table Top (24", 30" or 36")
- (1x) Pole (30" tall or 42" tall)
- (1x) Table Base (includes 4 screw in adjustable cruiser table feet)
- (1x) Connector
- (6x) Screws
Tools Required (not included):
- Phillips Screwdriver
- Tape measure
- Pencil
Step 1:
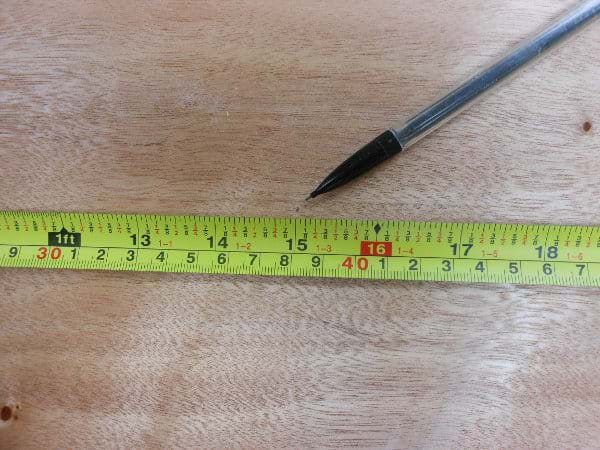
First, using your measuring tape, measure across the bottom of the table tabletop (the bottom is not clear coated). With the pencil make a mark in the center of the table.


Step 2:
Turn the tape measure 90 degrees and mark the half-way point again. These points are not likely to line up perfectly but this will give you the approximate center of your table.


Step 3:
Take your connector and place it so the center of the connector is over the two center marks that you made in step 1 and step 2.

Step 4:
Screw the connector onto the bottom of the table, hold the connector firmly in place to prevent any movement. We also recommend that you start all of the screws before tightening them down.


Step 5:
Place the pole on the table base, note that the side with two slots cut into the pole should be pointing up.


Step 6:
Place the table top and connector onto the pole; rotate the top until the connector slides into the slots on the pole.

Step 7:
Use and enjoy your fully assembled cocktail table! You will also note that it can be easily broken down into three pieces for easy transportation (Pole, Base, Top with connector attached).


If you’re in the market for cruiser tables, and would like to pricing including shipping to your location: